使用方法
HTML结构
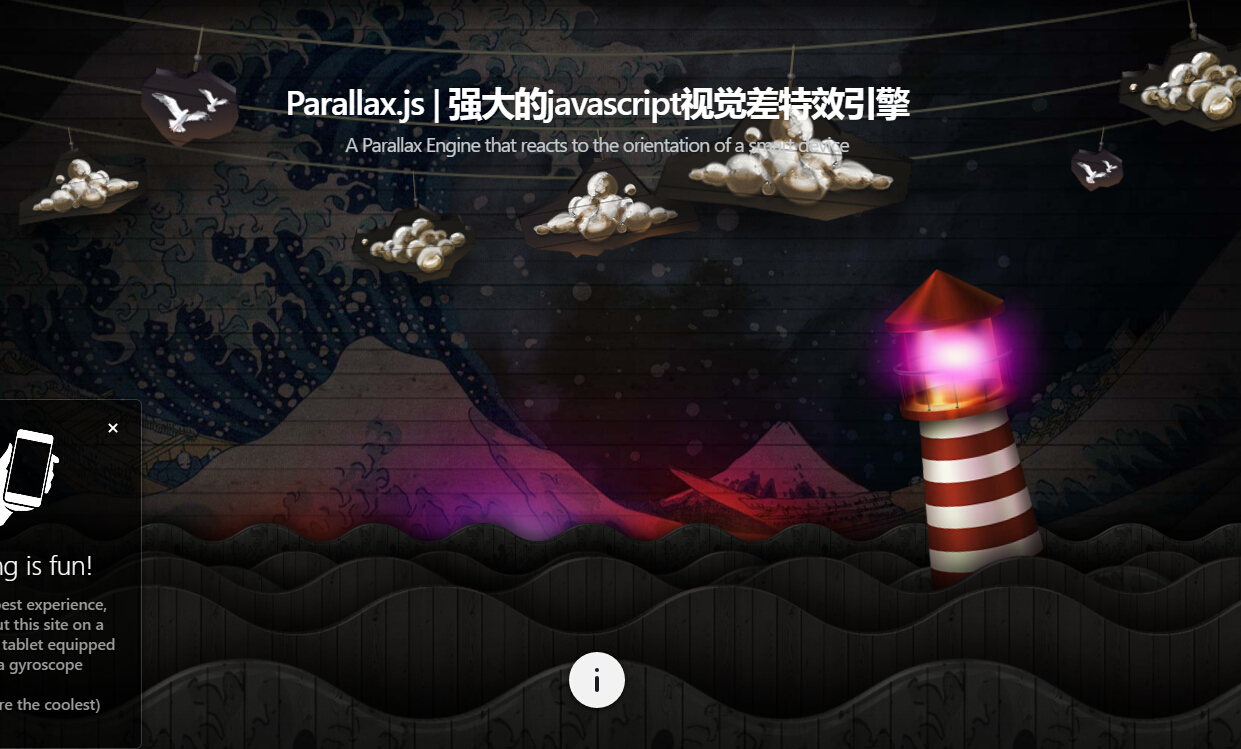
该视觉差特效的基本HTML结构使用的是一个无序列表,每一个列表项给它们一个class layer和一个data-depth属性来指定该层的深度。深度为0的层将是固定不动的,深度为1的层运动效果最激烈的层。0-1之间的层会根据值来相对移动。
<ul id="scene">
<li class="layer" data-depth="0.00"><img src="layer1.png"></li>
<li class="layer" data-depth="0.20"><img src="layer2.png"></li>
<li class="layer" data-depth="0.40"><img src="layer3.png"></li>
<li class="layer" data-depth="0.60"><img src="layer4.png"></li>
<li class="layer" data-depth="0.80"><img src="layer5.png"></li>
<li class="layer" data-depth="1.00"><img src="layer6.png"></li>
</ul>
|
初始化插件
要初始化视觉差效果,可以选择指定的DOM元素之后,创建一个新的Parallax对象。
var scene = document.getElementById('scene');
var parallax = new Parallax(scene);
|
层运动的计算规则
每一个层的运动量依赖于3个因素:
scalarX和scalarY的值- 父DOM元素的尺寸大小
- 一个parallax场景中层的
depth值
计算的公式如下:
xMotion = parentElement.width * (scalarX / 100) * layerDepth
yMotion = parentElement.height * (scalarY / 100) * layerDepth
|
所以在场景中一个data-depth为0.5的层,它的scalarX和scalarY值都为10(默认值),它的父容器的尺寸为1000px x 1000px,那么这个层在x和y方向的总运动量就为:
xMotion = 1000 * (10 / 100) * 0.5 = 50 # 50px of positive and negative motion in x
yMotion = 1000 * (10 / 100) * 0.5 = 50 # 50px of positive and negative motion in y
|
配置参数
下面是一些可用的配置参数,这些参数也可以在HTML标签中使用data属性来指定。
| 参数 |
值 |
描述 |
| relativeInput |
true 或 false |
Specifies whether or not to use the coordinate system of the element passed to the parallax constructor. Mouse input only |
| clipRelativeInput |
true 或 false |
Specifies whether or not to clip the mouse input to the bounds of the elementpassed to the parallax constructor. Mouse input only |
| calibrate-x |
true 或 false |
指定是否根据初始时x轴的值来计算运动量 |
| calibrate-y |
true 或 false |
指定是否根据初始时y轴的值来计算运动量 |
| invert-x |
true 或 false |
设置为true则按反方向运动层 |
| invert-y |
true 或 false |
设置为true则按反方向运动层 |
| limit-x |
number或 false |
x方向上总的运动量数值范围,设置为false则允许层自由运动 |
| limit-y |
number或 false |
y方向上总的运动量数值范围,设置为false则允许层自由运动 |
| scalar-x |
number |
输入的运动量和这个值相乘,增加或减少层运动的灵敏度 |
| scalar-y |
number |
输入的运动量和这个值相乘,增加或减少层运动的灵敏度 |
| friction-x |
number 0-1 |
层运动的摩擦量,实际上是在层上添加一些easing效果 |
| friction-y |
number 0-1 |
层运动的摩擦量,实际上是在层上添加一些easing效果 |
| origin-x |
number |
鼠标输入的x原点,默认值是0.5。0会移动原点到页面的左边,1会移动原点到页面的右边。Mouse input only |
| origin-y |
number |
鼠标输入的x原点,默认值是0.5。0会移动原点到页面的上边,1会移动原点到页面的下边。Mouse input only |
Data属性举例
<ul id="scene"
data-calibrate-x="false"
data-calibrate-y="true"
data-invert-x="false"
data-invert-y="true"
data-limit-x="false"
data-limit-y="10"
data-scalar-x="2"
data-scalar-y="8"
data-friction-x="0.2"
data-friction-y="0.8"
data-origin-x="0.0"
data-origin-y="1.0">
<li class="layer" data-depth="0.00"><img src="graphics/layer1.png"></li>
<li class="layer" data-depth="0.20"><img src="graphics/layer2.png"></li>
<li class="layer" data-depth="0.40"><img src="graphics/layer3.png"></li>
<li class="layer" data-depth="0.60"><img src="graphics/layer4.png"></li>
<li class="layer" data-depth="0.80"><img src="graphics/layer5.png"></li>
<li class="layer" data-depth="1.00"><img src="graphics/layer6.png"></li>
</ul>
|
构造函数方式举例
var scene = document.getElementById('scene');
var parallax = new Parallax(scene, {
calibrateX: false,
calibrateY: true,
invertX: false,
invertY: true,
limitX: false,
limitY: 10,
scalarX: 2,
scalarY: 8,
frictionX: 0.2,
frictionY: 0.8,
originX: 0.0,
originY: 1.0
});
|
API示例
var scene = document.getElementById('scene');
var parallax = new Parallax(scene);
parallax.enable();
parallax.disable();
parallax.updateLayers();
parallax.calibrate(false, true);
parallax.invert(false, true);
parallax.limit(false, 10);
parallax.scalar(2, 8);
parallax.friction(0.2, 0.8);
parallax.origin(0.0, 1.0);
|
作为jQuery插件使用
如果你将 Parallax.js 作为jQuery或Zepto插件来使用,可以如下方式使用:
带参数:
$('#scene').parallax({
calibrateX: false,
calibrateY: true,
invertX: false,
invertY: true,
limitX: false,
limitY: 10,
scalarX: 2,
scalarY: 8,
frictionX: 0.2,
frictionY: 0.8,
originX: 0.0,
originY: 1.0
});
|
jQuery API
var $scene = $('#scene').parallax();
$scene.parallax('enable');
$scene.parallax('disable');
$scene.parallax('updateLayers');
$scene.parallax('calibrate', false, true);
$scene.parallax('invert', false, true);
$scene.parallax('limit', false, 10);
$scene.parallax('scalar', 2, 8);
$scene.parallax('friction', 0.2, 0.8);
$scene.parallax('origin', 0.0, 1.0);
|
IOS
如果如果你编写了一个原生的iOS项目,并希望在UIWebView中使用parallax.js,你需要按下面的步骤来实现它。
UIWebView不会再自动接收deviceorientation事件,所以你的项目必须拦截gyroscope和reroute发出的事件。
- 引入
CoreMotion框架,#import <CoreMotion/CoreMotion.h>,并创建一个UIWebView的引用 @property(nonatomic, strong) IBOutlet UIWebView *parallaxWebView;。
- 在app delegate中添加一个属性
@property(nonatomic, strong) CMMotionManager *motionManager;。
- 最后使用下面的代码来调用:
self.motionManager = [[CMMotionManager alloc] init];
if (self.motionManager.isGyroAvailable && !self.motionManager.isGyroActive) {
[self.motionManager setGyroUpdateInterval:0.5f];
[self.motionManager startGyroUpdatesToQueue:NSOperationQueue.mainQueue
withHandler:^(CMGyroData *gyroData, NSError *error) {
NSString *js = [NSString stringWithFormat:@"parallax.onDeviceOrientation({beta:%f, gamma:%f})", gyroData.rotationRate.x, gyroData.rotationRate.y];
[self.parallaxWebView stringByEvaluatingJavaScriptFromString:js];
}];
}
|